For the complete documentation index, see llms.txt. This page is also available as Markdown.

Generating API keys

Create an API key in the KiiChain Pay dashboard, understand scopes and expiry, and learn how to authenticate and sign your API requests.

Every request to the KiiChain Pay API is authenticated with an API key. Write requests are additionally signed with the key's private key. You create and manage keys from the dashboard; you then use them from your backend.

1. Create a key in the dashboard

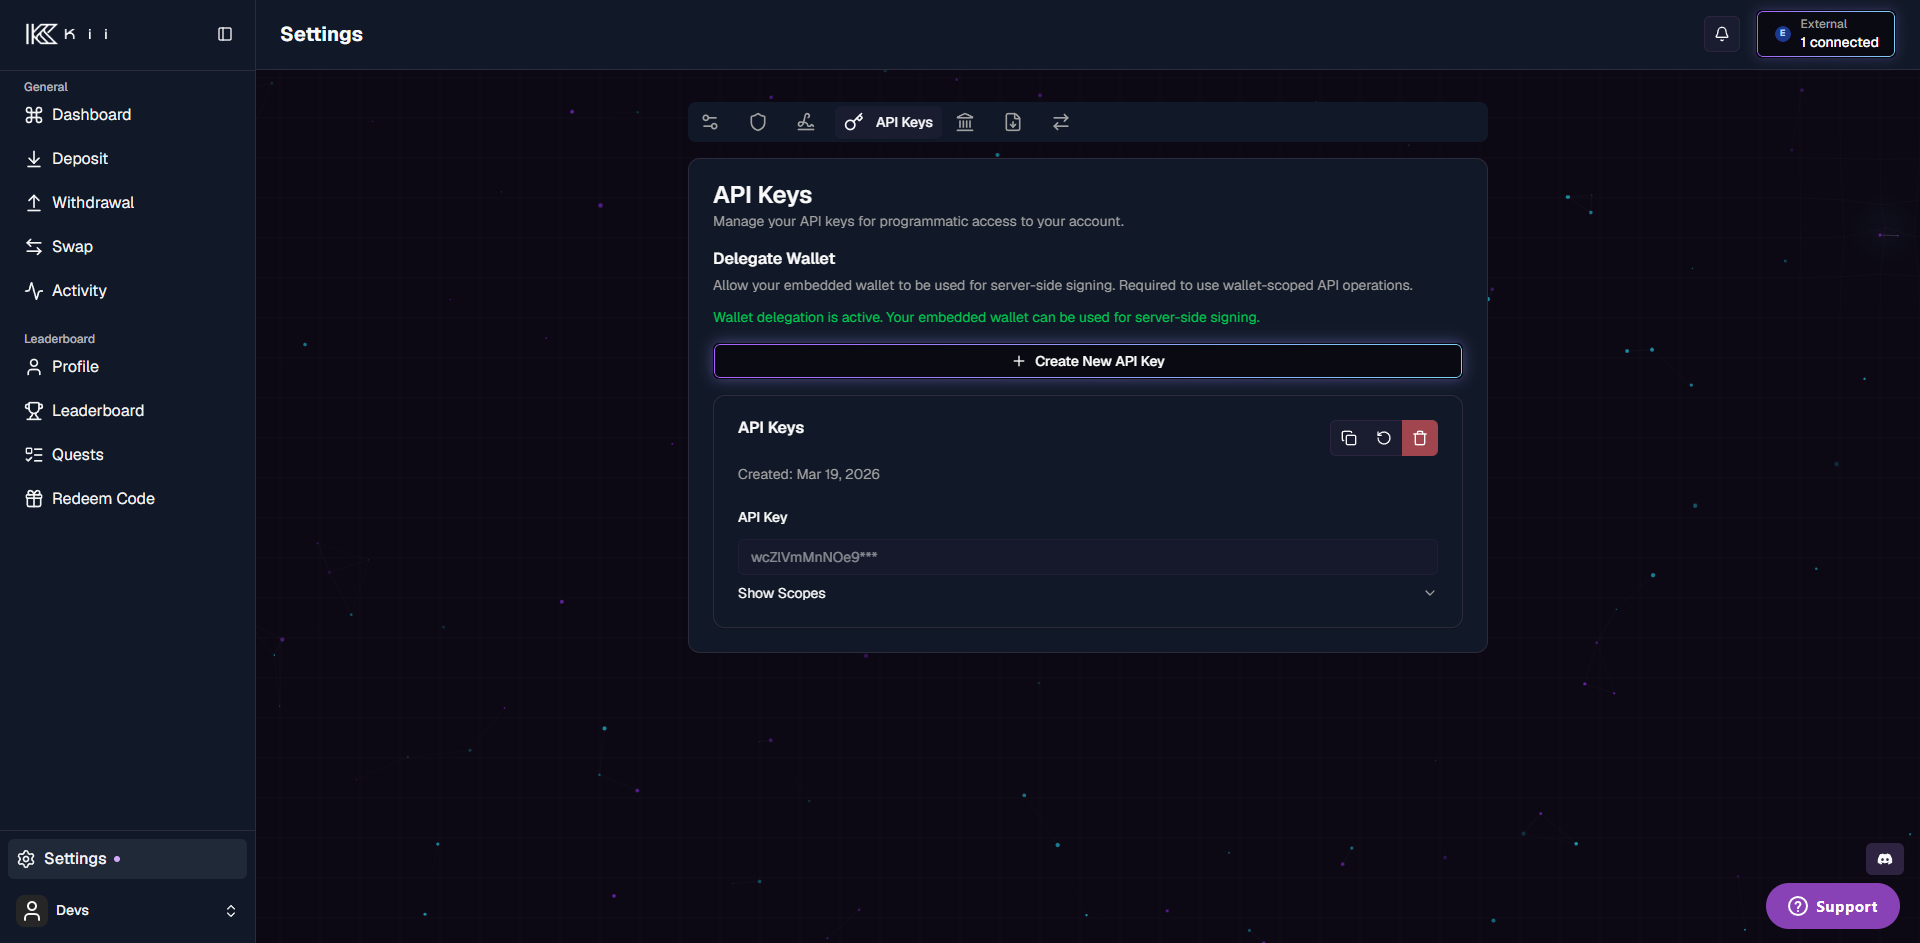
API keys are created and managed in the KiiChain Pay app. Sign in at pay.kiichain.io and go to Settings → API Keys.

Settings → API Keys page
Settings → API Keys, with the Create New API Key button and any existing keys.

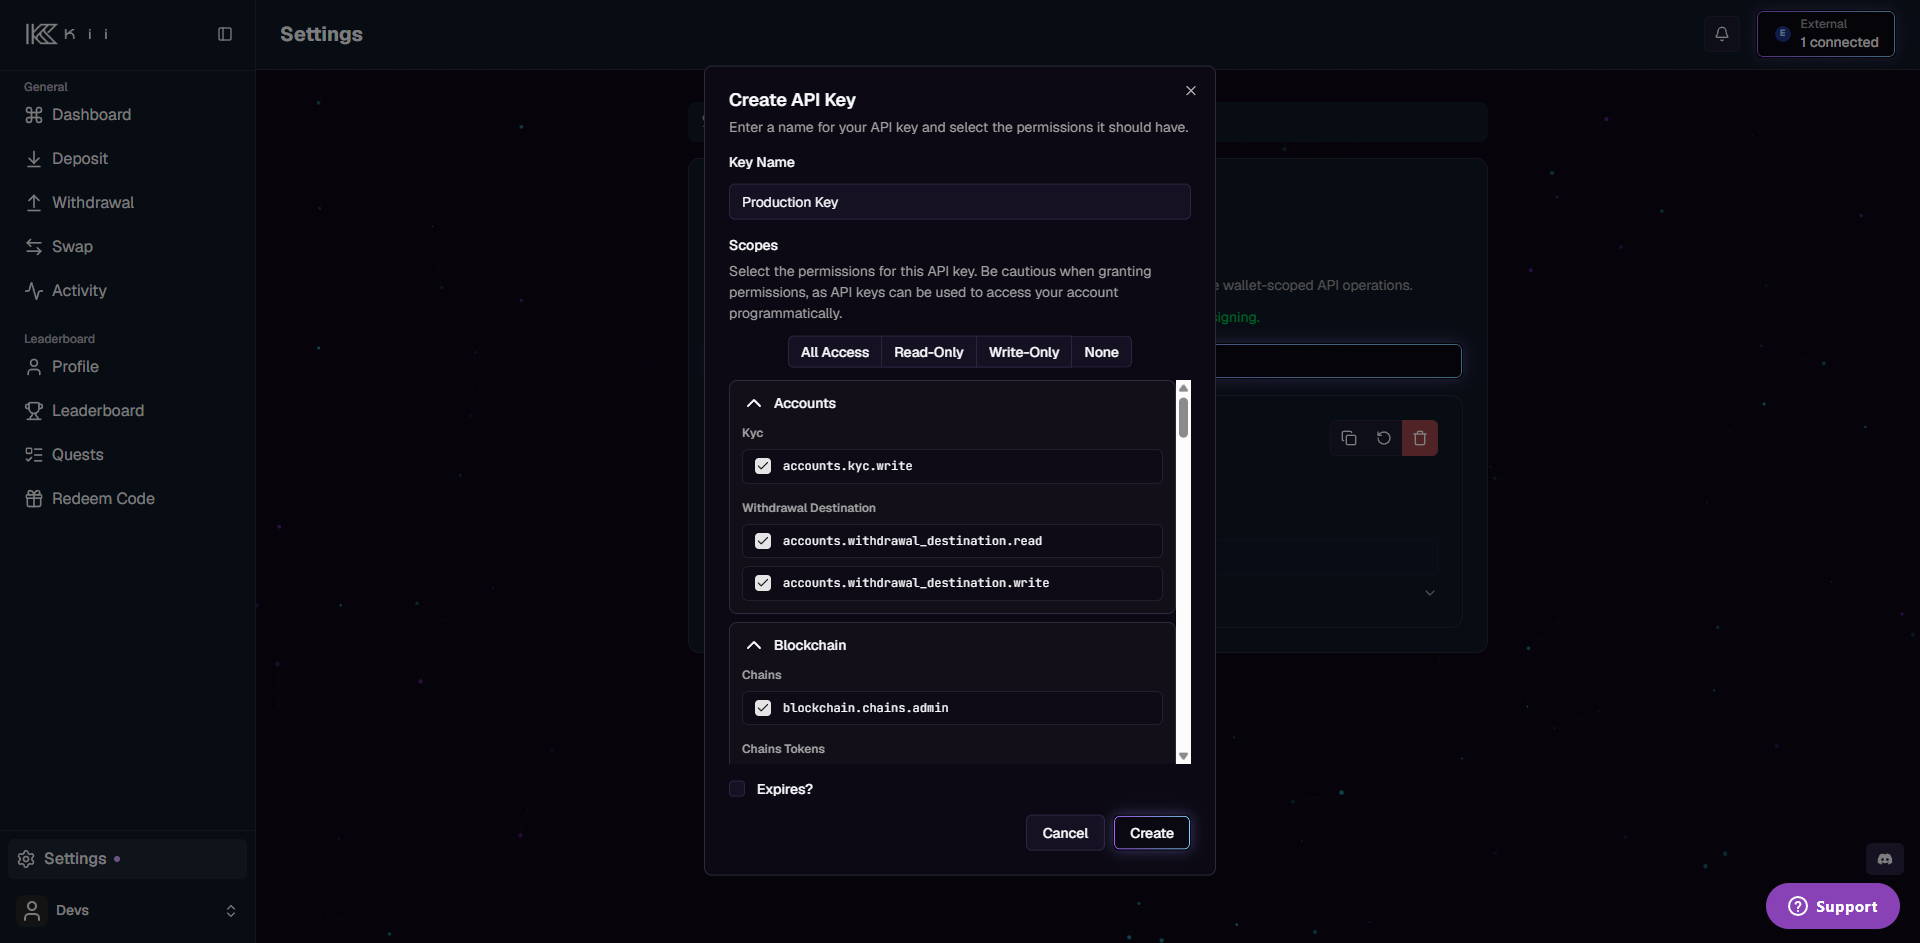
Click Create API Key and fill in:

Field
Description

Name

A label to identify the key (e.g. Production backend). Required.

Scopes

The permissions the key grants. At least one is required. A key can only be granted scopes you already have — see Scopes. Quick-select buttons let you pick All access, Read only, Write only, or None.

Expires at

Optional expiry date. If omitted, the key does not expire. We recommend setting one and rotating regularly.

Create API Key dialog
The Create API Key dialog: name, scope quick-select, and the grouped scope list.
2. Store the secret — shown only once

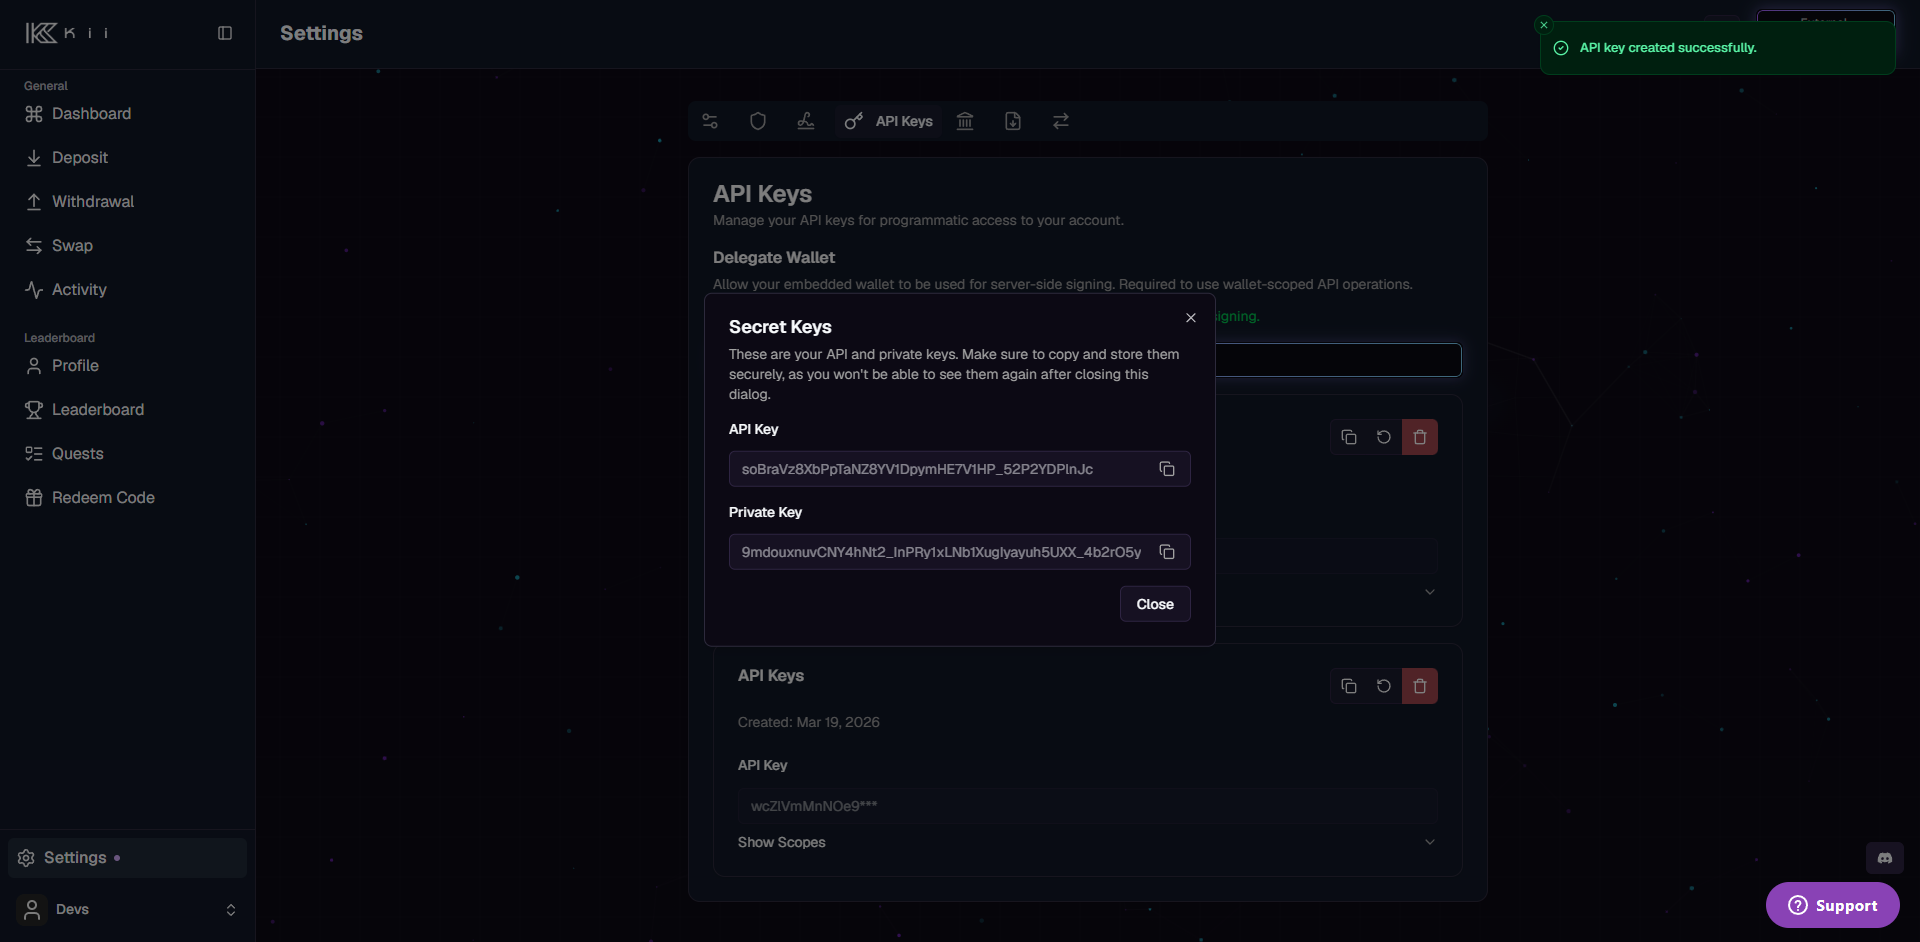
When the key is created you'll see three values:

  • API key (api_key) — the opaque token you send in the Authorization header.

  • Private key (priv_key) — the Ed25519 private key used to sign write requests.

  • Public key (pub_key) — stored by KiiChain Pay to verify your signatures; also visible later on the key's card.

One-time secret reveal dialog
The one-time reveal: copy the API Key and Private Key before closing — they're never shown again.
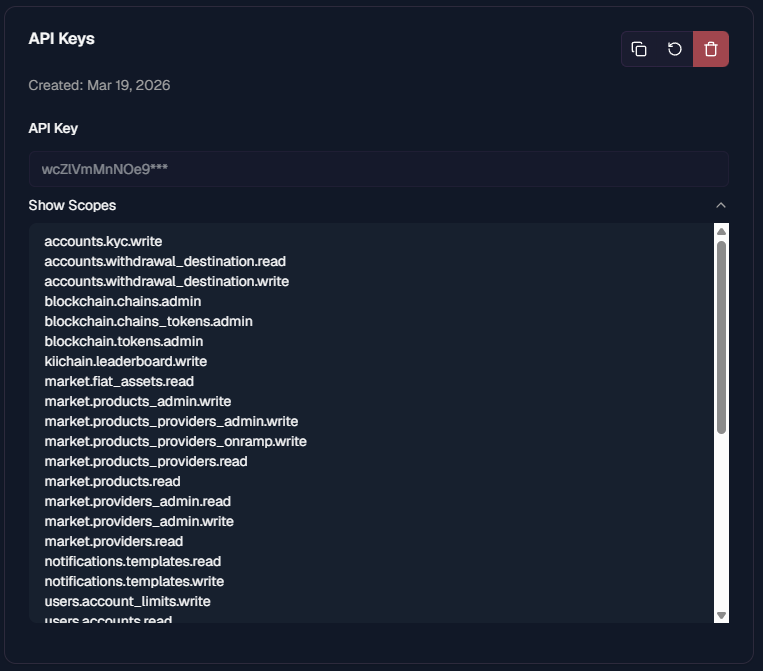
After you close the dialog, the key appears in the list showing only a masked prefix (abc123def456***) and its public key. From the key's card you can copy the public key, rotate, or delete the key.

API key card with scopes expanded
An existing key: masked value, the expanded Scopes list, and the copy / rotate / delete actions.
  • Rotate issues a new API key and private key for the same key entry (the old credentials stop working immediately). The new secret is shown once, exactly like creation.

  • Delete revokes the key immediately.

3. Authenticate your requests

Send your API key as an Authorization header with the APIKey scheme (not Bearer):

Read requests (GET, OPTIONS) need only this header:

Write requests (POST, PATCH, PUT, DELETE) must additionally be signed — see below.

4. Sign write requests

Write requests carry two extra headers:

Header
Value

x-timestamp

The current time, as a string. Unix seconds (1739471625) or milliseconds (1739471625123) both work — the server signs whatever string you send. Use the same value in the signed payload.

x-signature

Base64url (no padding) Ed25519 signature of the canonical payload below.

The signed payload is four lines joined by \n:

Part
Value

timestamp

The exact string you put in the x-timestamp header (Unix seconds or milliseconds — just keep it identical in both places).

method

The HTTP method, uppercase (POST, PATCH, PUT, DELETE).

uri

The request URI including path and query string (e.g. /users/v1/api/create).

bodyHash

Lowercase hex SHA-256 of the raw request body bytes. For an empty body, use the SHA-256 of the empty string: e3b0c44298fc1c149afbf4c8996fb92427ae41e4649b934ca495991b7852b855.

Sign the UTF-8 bytes of payload with your Ed25519 private key and send the base64url-encoded signature in x-signature.

Reference implementation

These helpers add the correct headers and sign write requests using only each language's standard library — no third-party dependencies.

Requires Node.js 18+ (for the global fetch and base64url encoding). The priv_key is the raw 64-byte Ed25519 key (seed || publicKey), which node:crypto imports via a JWK.

Signing in other languages

The scheme is language-agnostic — reproduce these steps with any Ed25519 and SHA-256 library:

  1. bodyHash = hex(sha256(rawBodyBytes))

  2. payload = "{timestamp}\n{METHOD}\n{uri}\n{bodyHash}"

  3. signature = base64url_nopad(ed25519_sign(privateKey, utf8(payload)))

  4. Send headers Authorization: APIKey <api_key>, x-timestamp: <timestamp>, x-signature: <signature>.

Base64url-decode priv_key to obtain the raw 64-byte Ed25519 private key.

Scopes

Scopes follow the pattern <module>.<resource>.<action>, where the action is one of read, write, update, delete, or admin. A key's scopes are validated on every call, and the endpoint you hit declares which scope it requires.

A key can never have more access than the account that created it — requested scopes are capped by your own scopes. Scopes with an :all suffix (cross-account) and admin scopes are elevated permissions and are generally not available to integrator keys.

Commonly used scopes:

Scope
Grants

users.api.read / write / update / delete

Manage your API keys.

users.accounts.read / write

Read and manage accounts.

accounts.kyc.read / write

Read KYC status / start KYC.

accounts.withdrawal_destination.read / write

Manage withdrawal destinations (bank accounts, wallet addresses).

market.products.read, market.providers.read, market.dex.read, market.instruments.read, market.fiat_assets.read

Discover on-/off-ramp products, providers, DEX routes, instruments and fiat assets.

market.providers_virtual_accounts.read / write

Create and read virtual accounts for fiat on-/off-ramps.

tickets.tickets.read / write

Create and track on-ramp, off-ramp and swap tickets.

ledger.entries.read

Read ledger balances and transaction history.

The dashboard's create dialog always lists the full, current set of scopes available to your account.

Next steps

Last updated